 As you already know, the youngest of the family, Dipti, is expecting her very first baby and we are all thrilled!! In honor of this little guy, we are in full preparation mode to celebrate his arrival in Feb. 2015. We celebrated the Indian ceremony last Sunday and are now gearing up for the cocktail party in his honor. Dipti & Sachin chose a choo-choo train theme for the shower and of course, our DIY queen, Sheena was talked into hand making the invitation cards by Mommy Vaid, of course! You already saw some of her creations here, now get ready for some serious “how to” details on Dipti’s shower invitation below!
Sheena’s vision for this card was 3 dimensional. She wanted trains on a track and Dipti wanted the smoke coming out of the train. After looking through some cool train clipart on Etsy, Sheena fell in love with this one! She knew she wanted them all cut out individually and thinking about doing it by hand was torture. Just then she met her new best friend! If you follow Sheena on Instagram, you may know by now what best friend she is referring to… Her most prized crafting toy – the Silhouette Cameo! After discovering what this baby can do, it has opened up a whole new world!
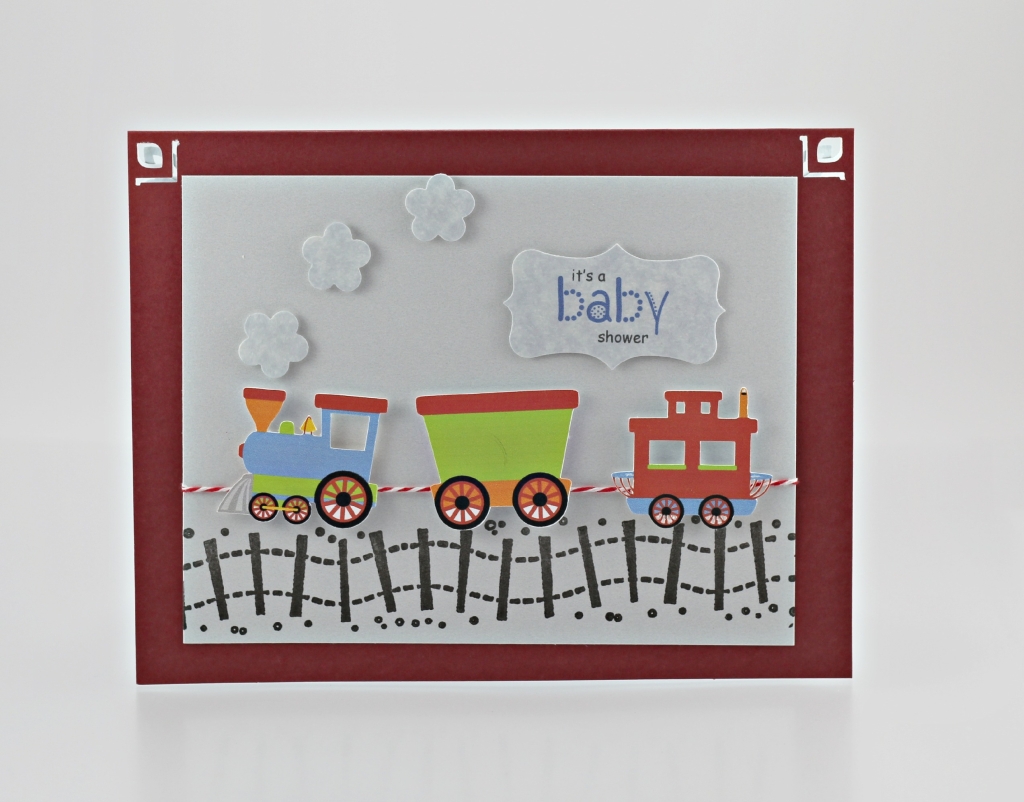
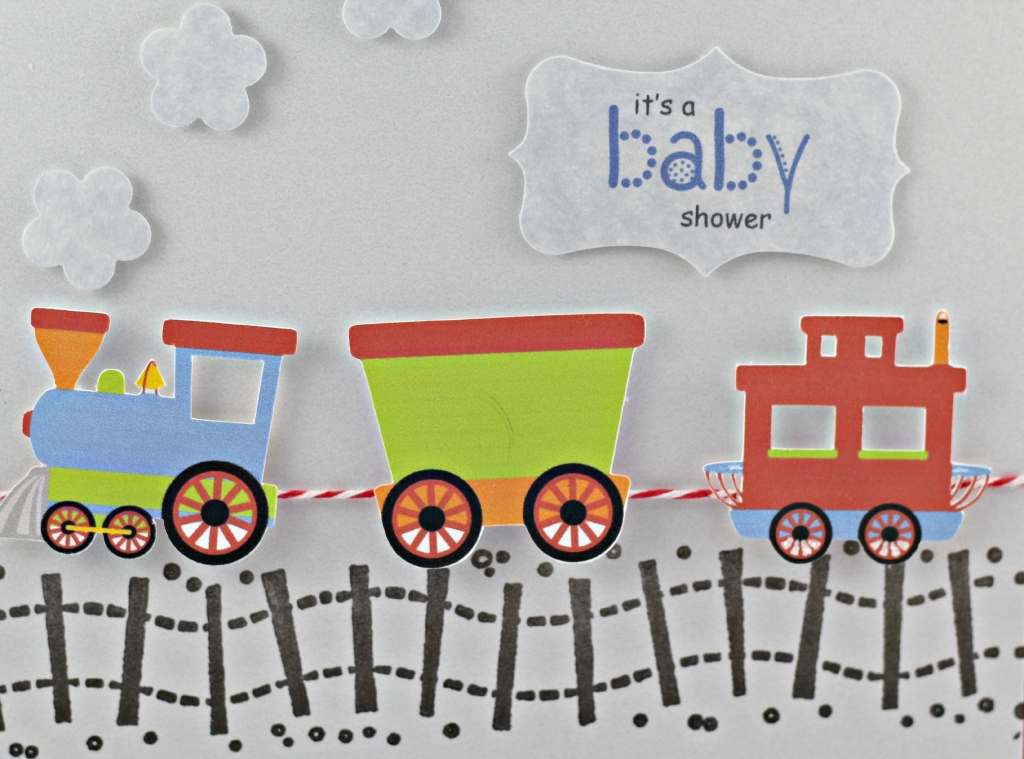 She purchased the base card (red) and white, shimmer card stock from Micheals. With a paper cutter, she cut the cardstock into the appropriate size for the cover (half an inch smaller on all four sides.) On the white cardstock, she used the “right on track stampin up wheel” and black ink to stamp on the train track. She taped on the bakers twine above the track to be the attachment of the trains. With the Silhouette Cameo, she cut out all the trains and used glue dots to stick the trains onto the white cardstock. With a grey marble cardstock, she used a small flower paper punch and punched out the smoke poofs and stuck it on with the glue dots. Using that same cardstock, she printed out “it’s a babyshower” on her computer and punched it out with a small “sign” paper punch. With the glue dots, she also stuck that on.
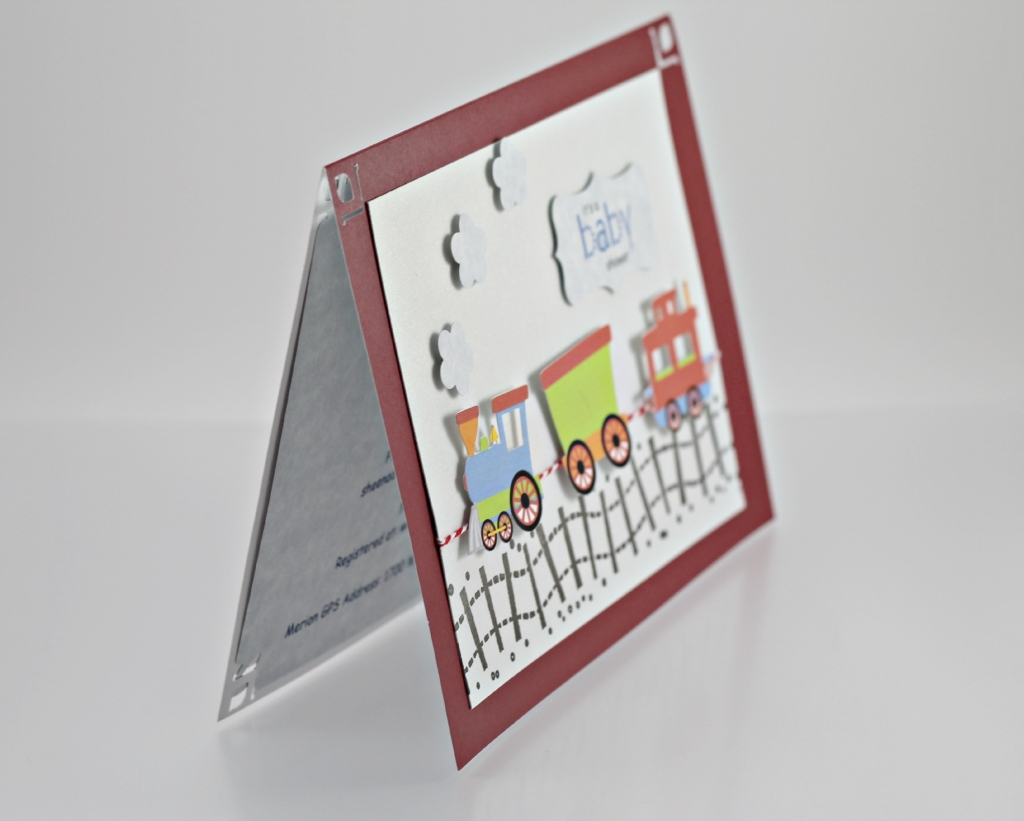
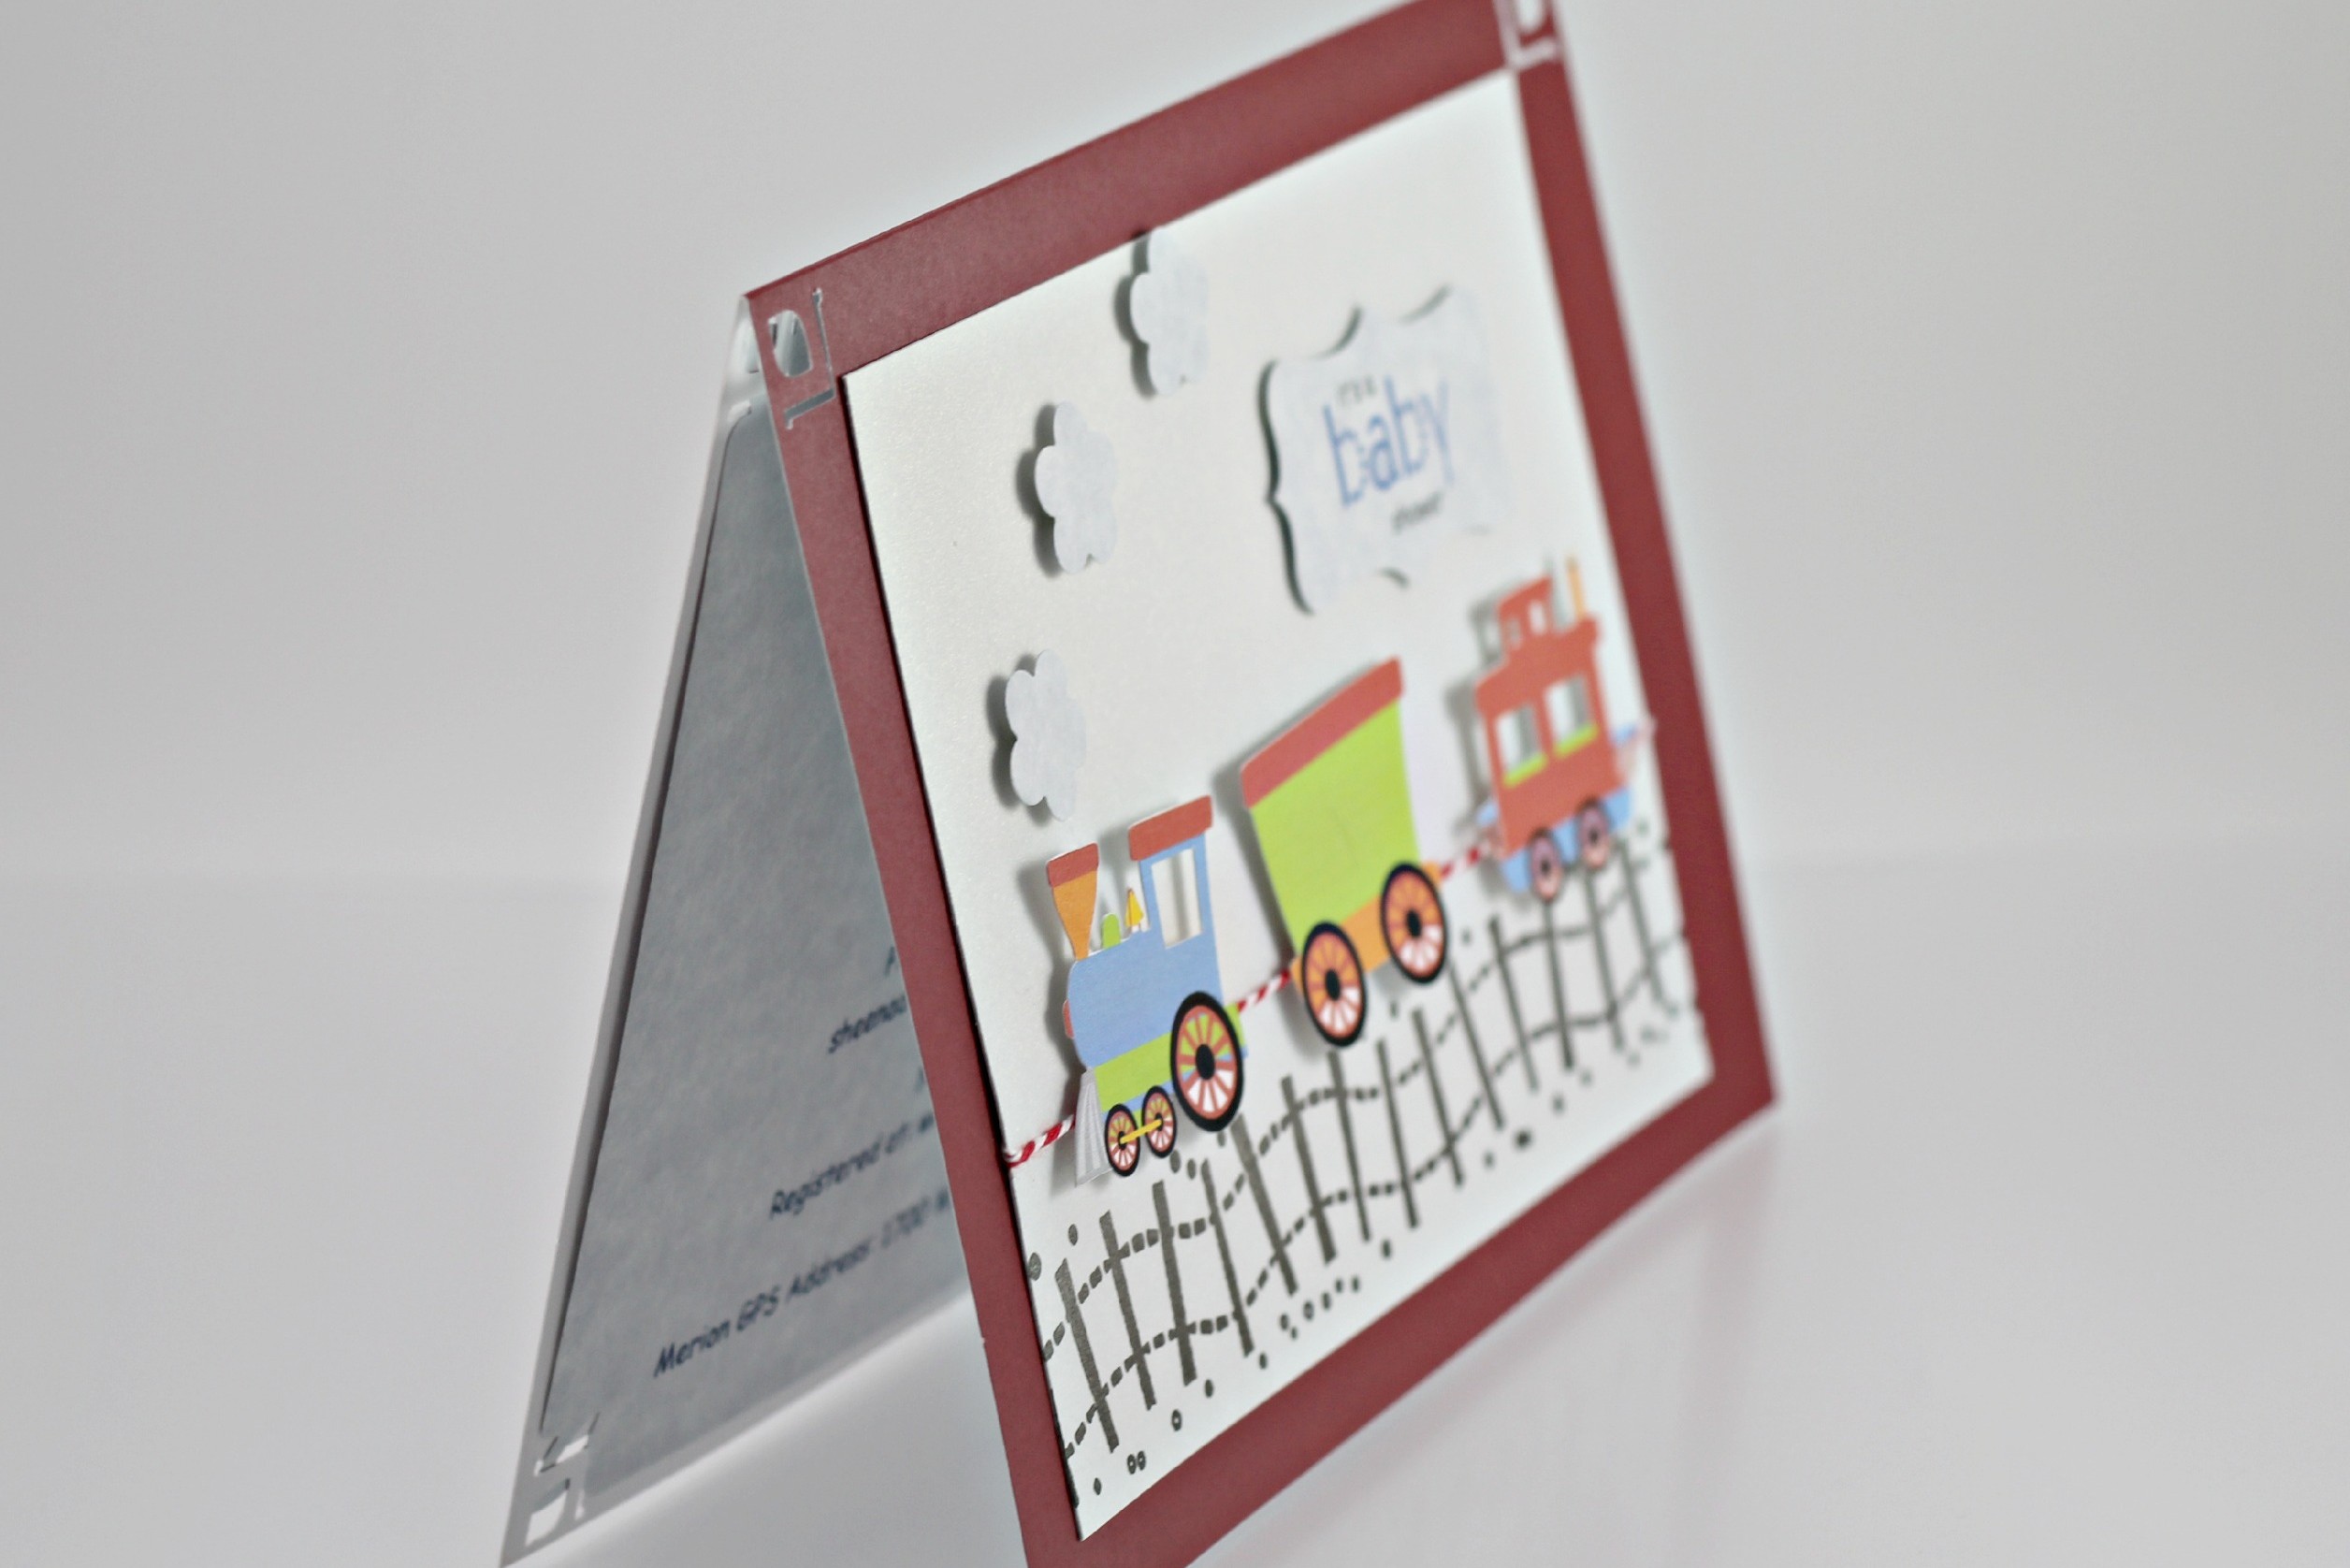
On the top two corners of the red card (on the outside) and the two bottom corners of the red card (on the inside), she used the Empire Mini Corner Set paper punch to create these beautiful corners on the cards. The purpose of this was to make pretty corners and use them on the inside of the card as interlocking corners to insert the card with the details of the shower (pictured below…cool right?)
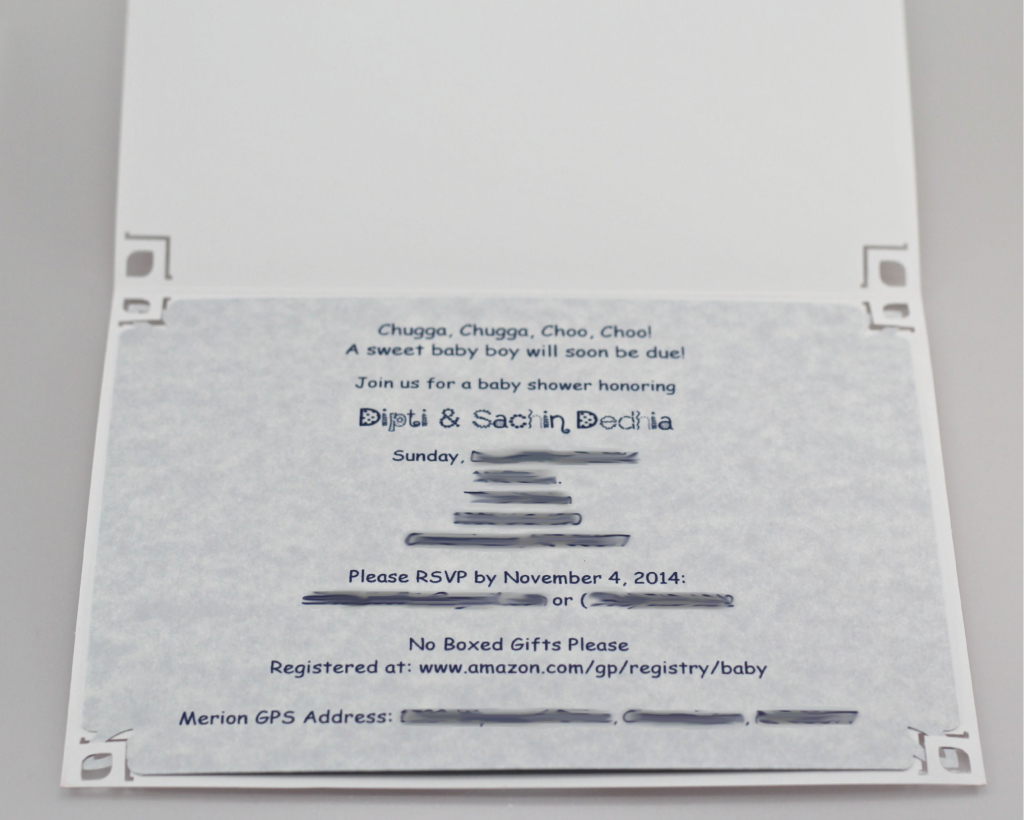
She cut the grey marbled cardstock into a size that would fit into the inside of her red card with a paper cutter. She printed all the details of the shower on that card and using the interlocking paper punch, created the insert corners on all four corners. And there we have it, the babyshower invitation is complete.