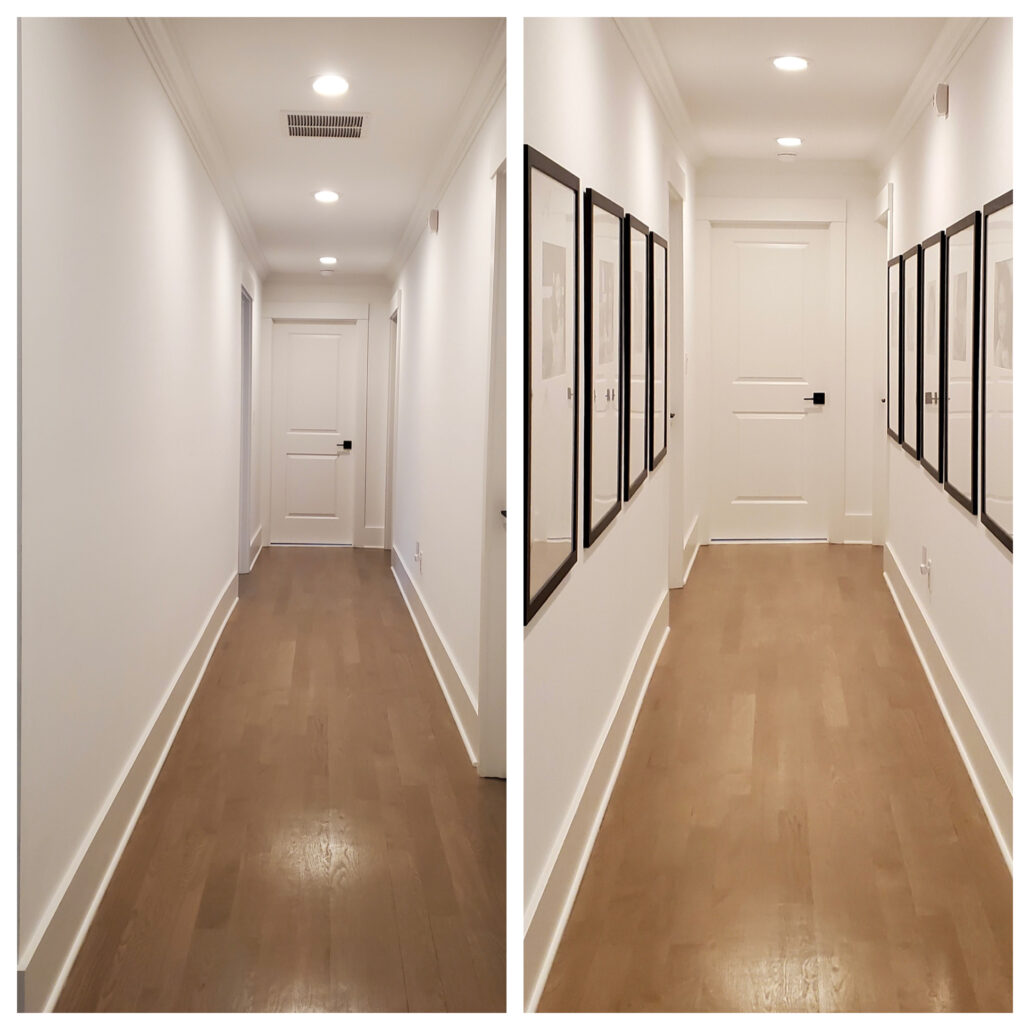
During the pandemic, like most, Nina was just looking to complete projects that were on her to-do list. And like most, she didn’t get everything done, but she did complete one of her dream tasks – a kids’ gallery wall. Below are the details of how she went from her before and after (pictured below) in under $400!!!!
First, she sought inspiration, which she found
here and
here. Now that she knew she wanted a black and white look with the black frames and white mat boards, she looked for DIY ideas to get it done.
The DIY Lighthouse was super helpful in recommending the frames.
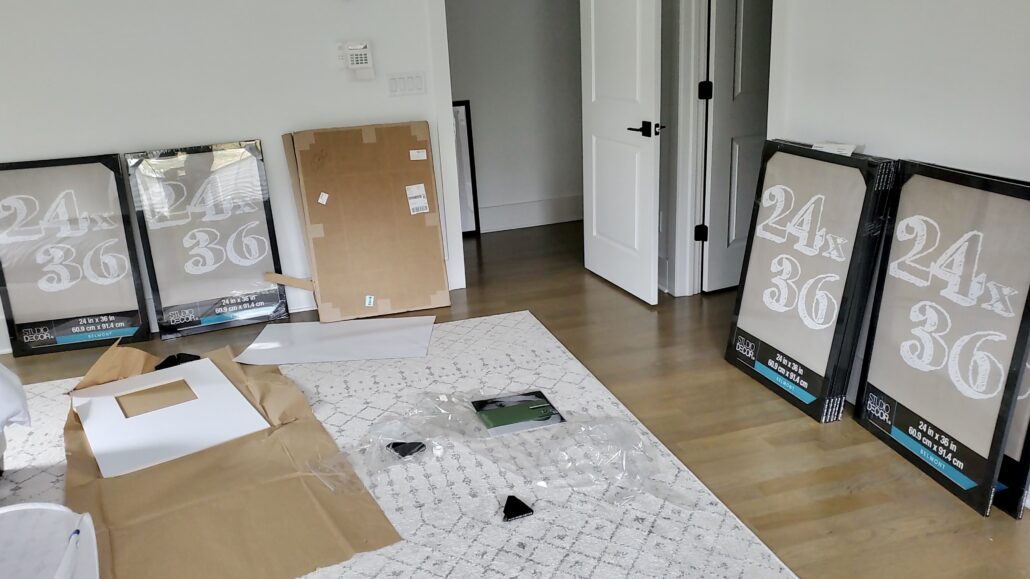
Ikea has similar ones too. Ultimately Nina went with the
Michaels Black Belmont frames, which were on sale for $14.95 per frame ($149.50 total!).
Next she figured out the mat boards. Michaels sells uncut mat boards but you have to cut the opening yourself. Nina knew she was not confident in cutting 10 identical boards for this project, so she ended up going to Matboard and More and ordering the 10 Economy mats in Smooth White. Since she was going to do 12×12 pictures, she chose the cutout to be a 11.75 x 11.75″ square. She positioned the cutout so that it was evenly spaced from the sides and top (about 6 1/8″). This way she got the off center look. Because she ordered 10, they came to $16.02 per mat with free shipping, bringing her total to $160.20 for the mats.
Next was the prints. Almost always she has used
mpix.com to order any pictures she has printed in her home. However, they did not have any promos running. So she took the recommendation from the DIY Lighthouse, and used
Nations Photo Lab and ordered the prints from there in 12×12″, black and white, with metallic finish. With all the promos, each picture came to $5.94 with free shipping, bringing her photo total to $59.40.
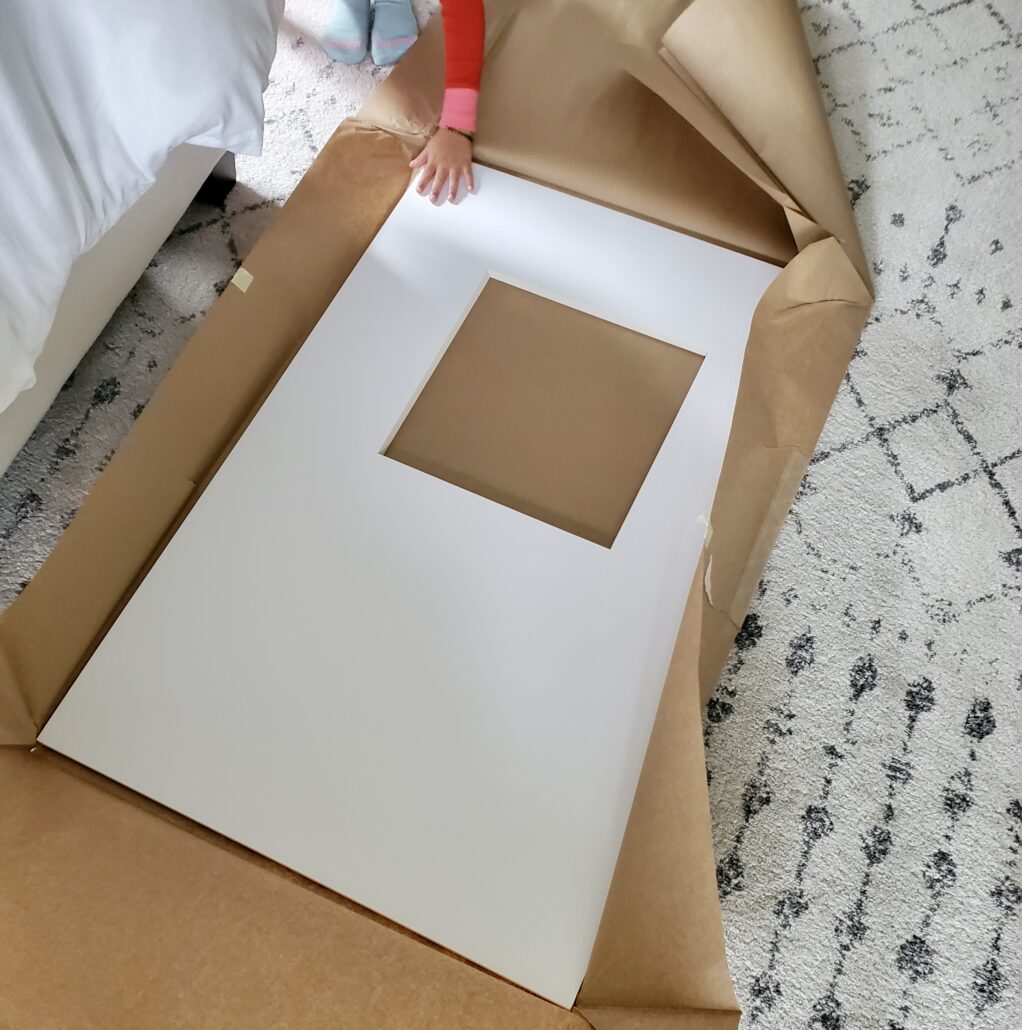
Finally it was time to assemble and hang the frames. One wall was 13.5′, so she spaced the frames 8″ apart on that wall. The other wall was 12.75′, so she spaced the frames 6″ apart on that wall. After getting all the pictures taped to the boards and set in the frames, she took part of the cardboard that was in the packaging and used it to measure the 8 and 6 inch spacing and the height from the floor. She then used these hooks she had in the house to hang the frames. Her labor: Love.

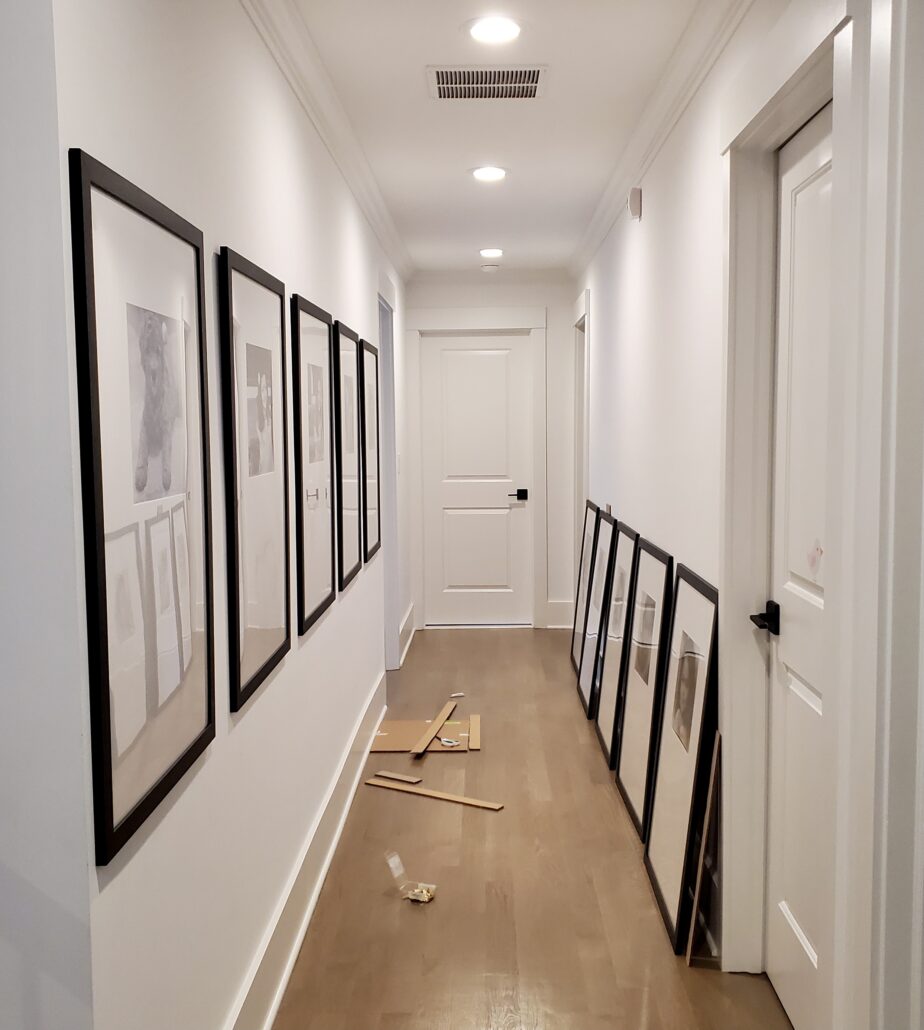
And here is the final product! This was a true labor of love and completely worth it! We hope you find it helpful in creating a beautiful space in your home!