
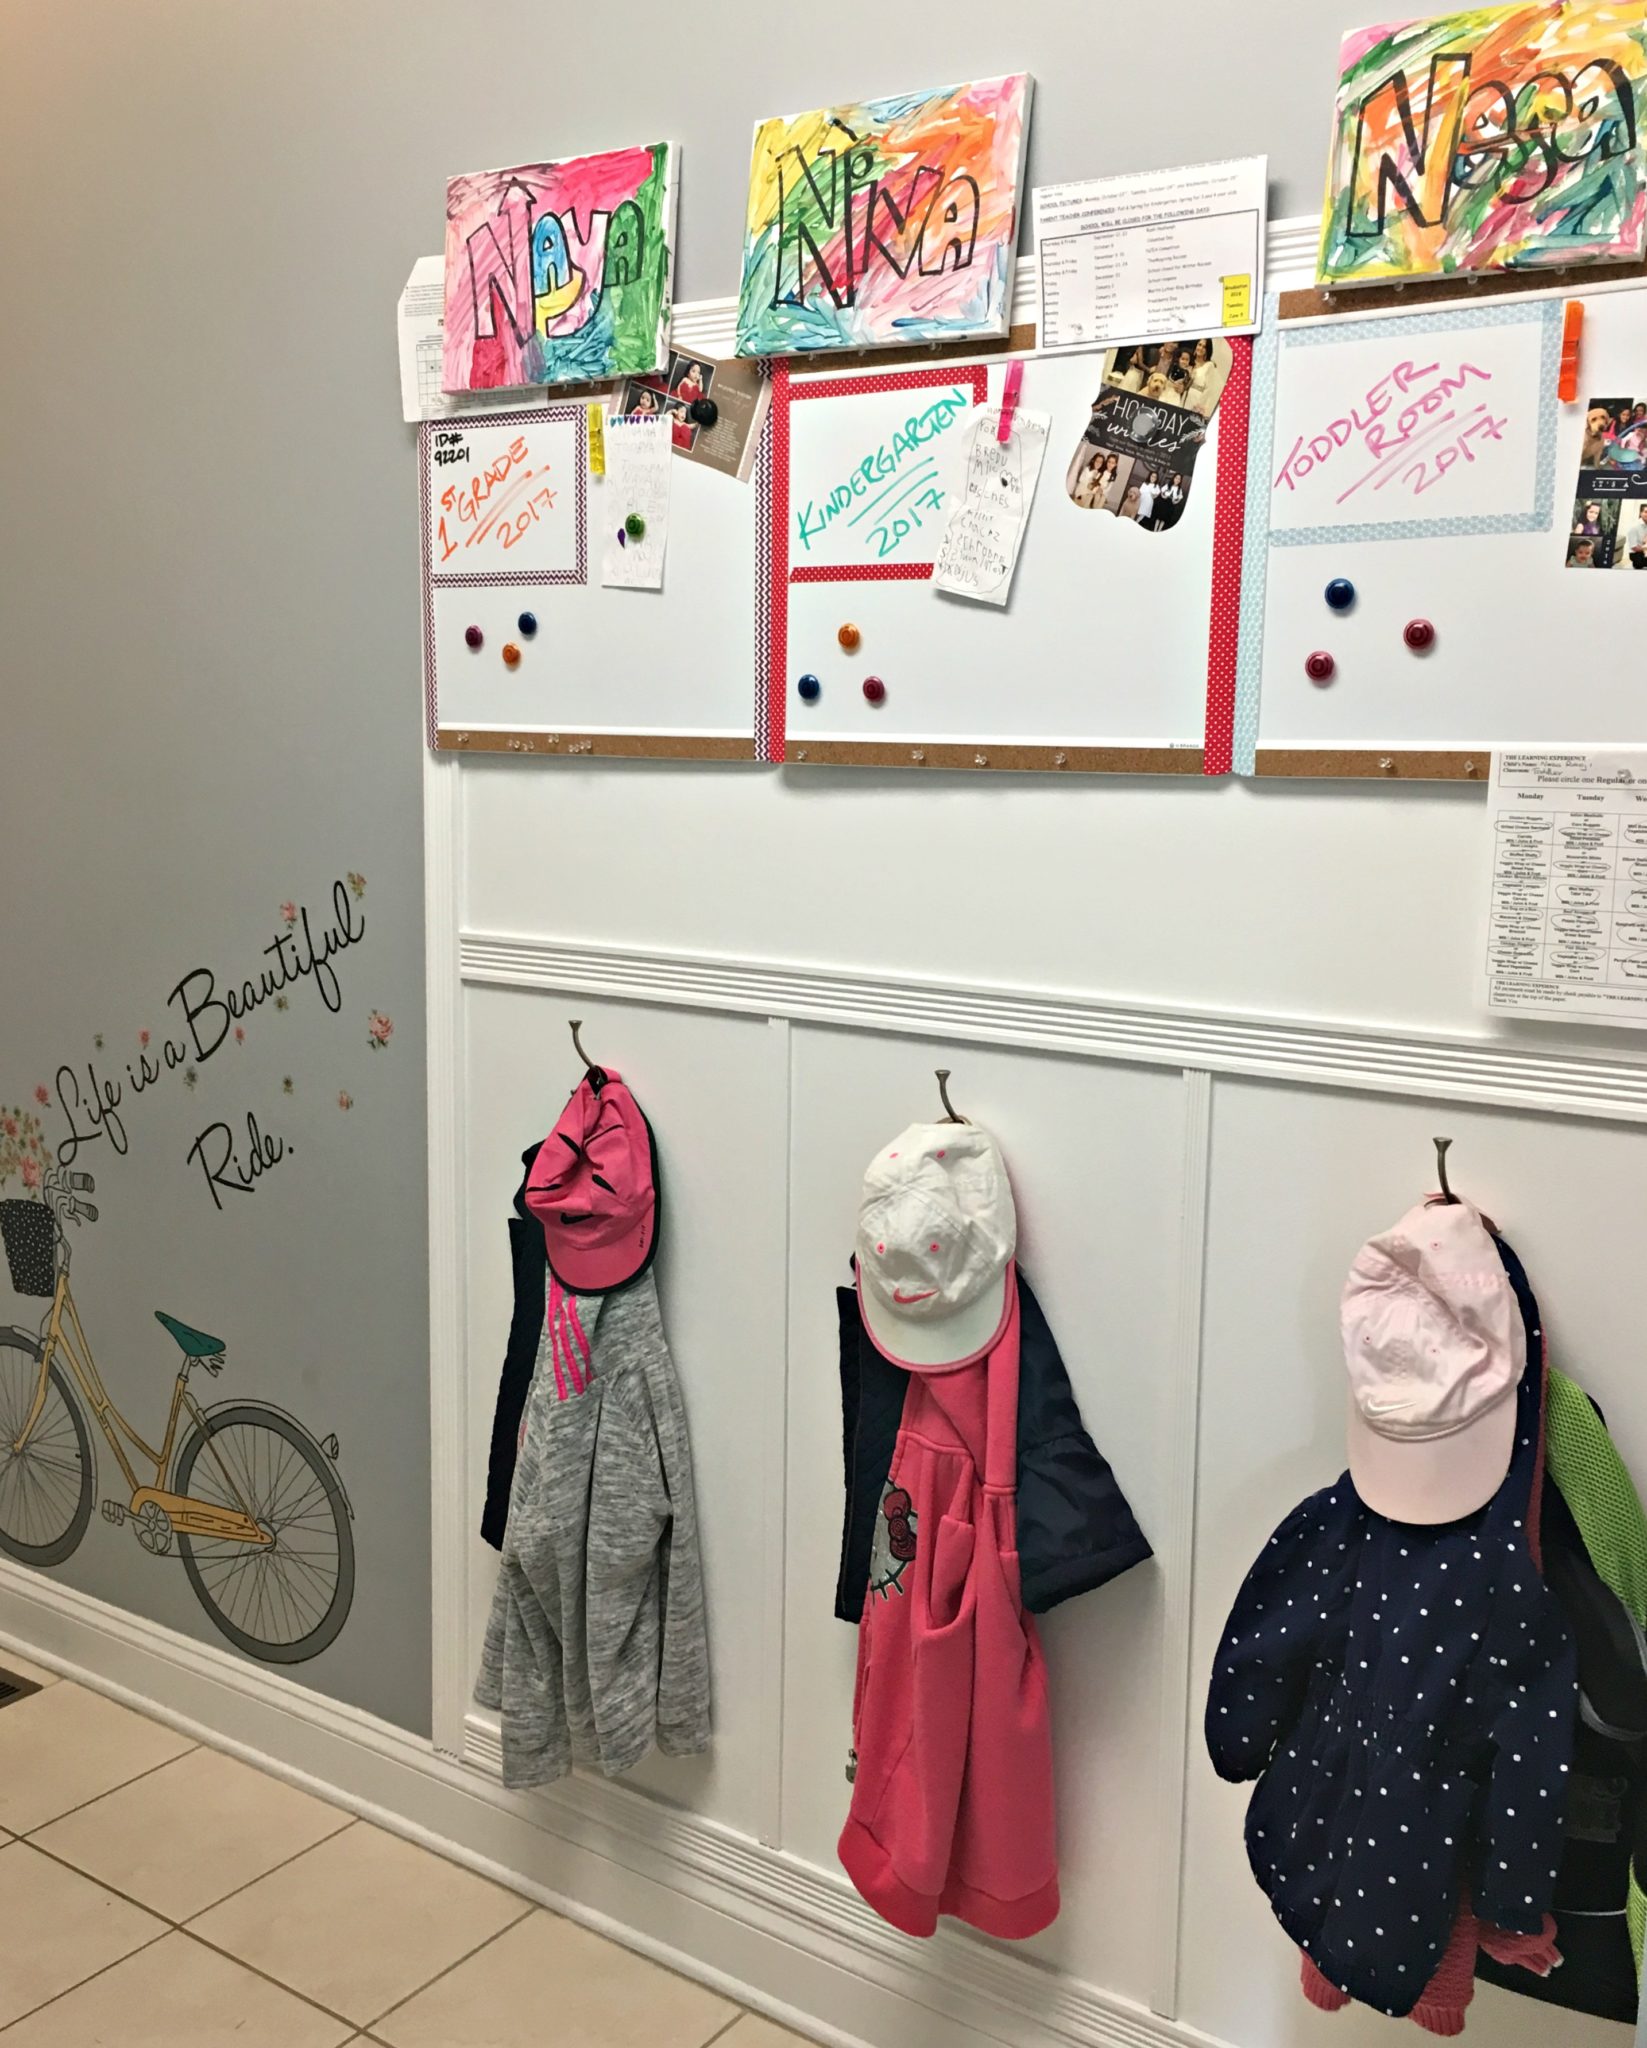
Nina is getting anxious yet again as the start of the school year approaches. She finally got the kids activities in check – but now is trying to organize her home to get ready for 3 different schools, 3 different schedules, and 3 different sets of incoming and outgoing assignments (well 2 really but still). So she decided what better place to start than the most used, high traffic area of the house – the mudroom.
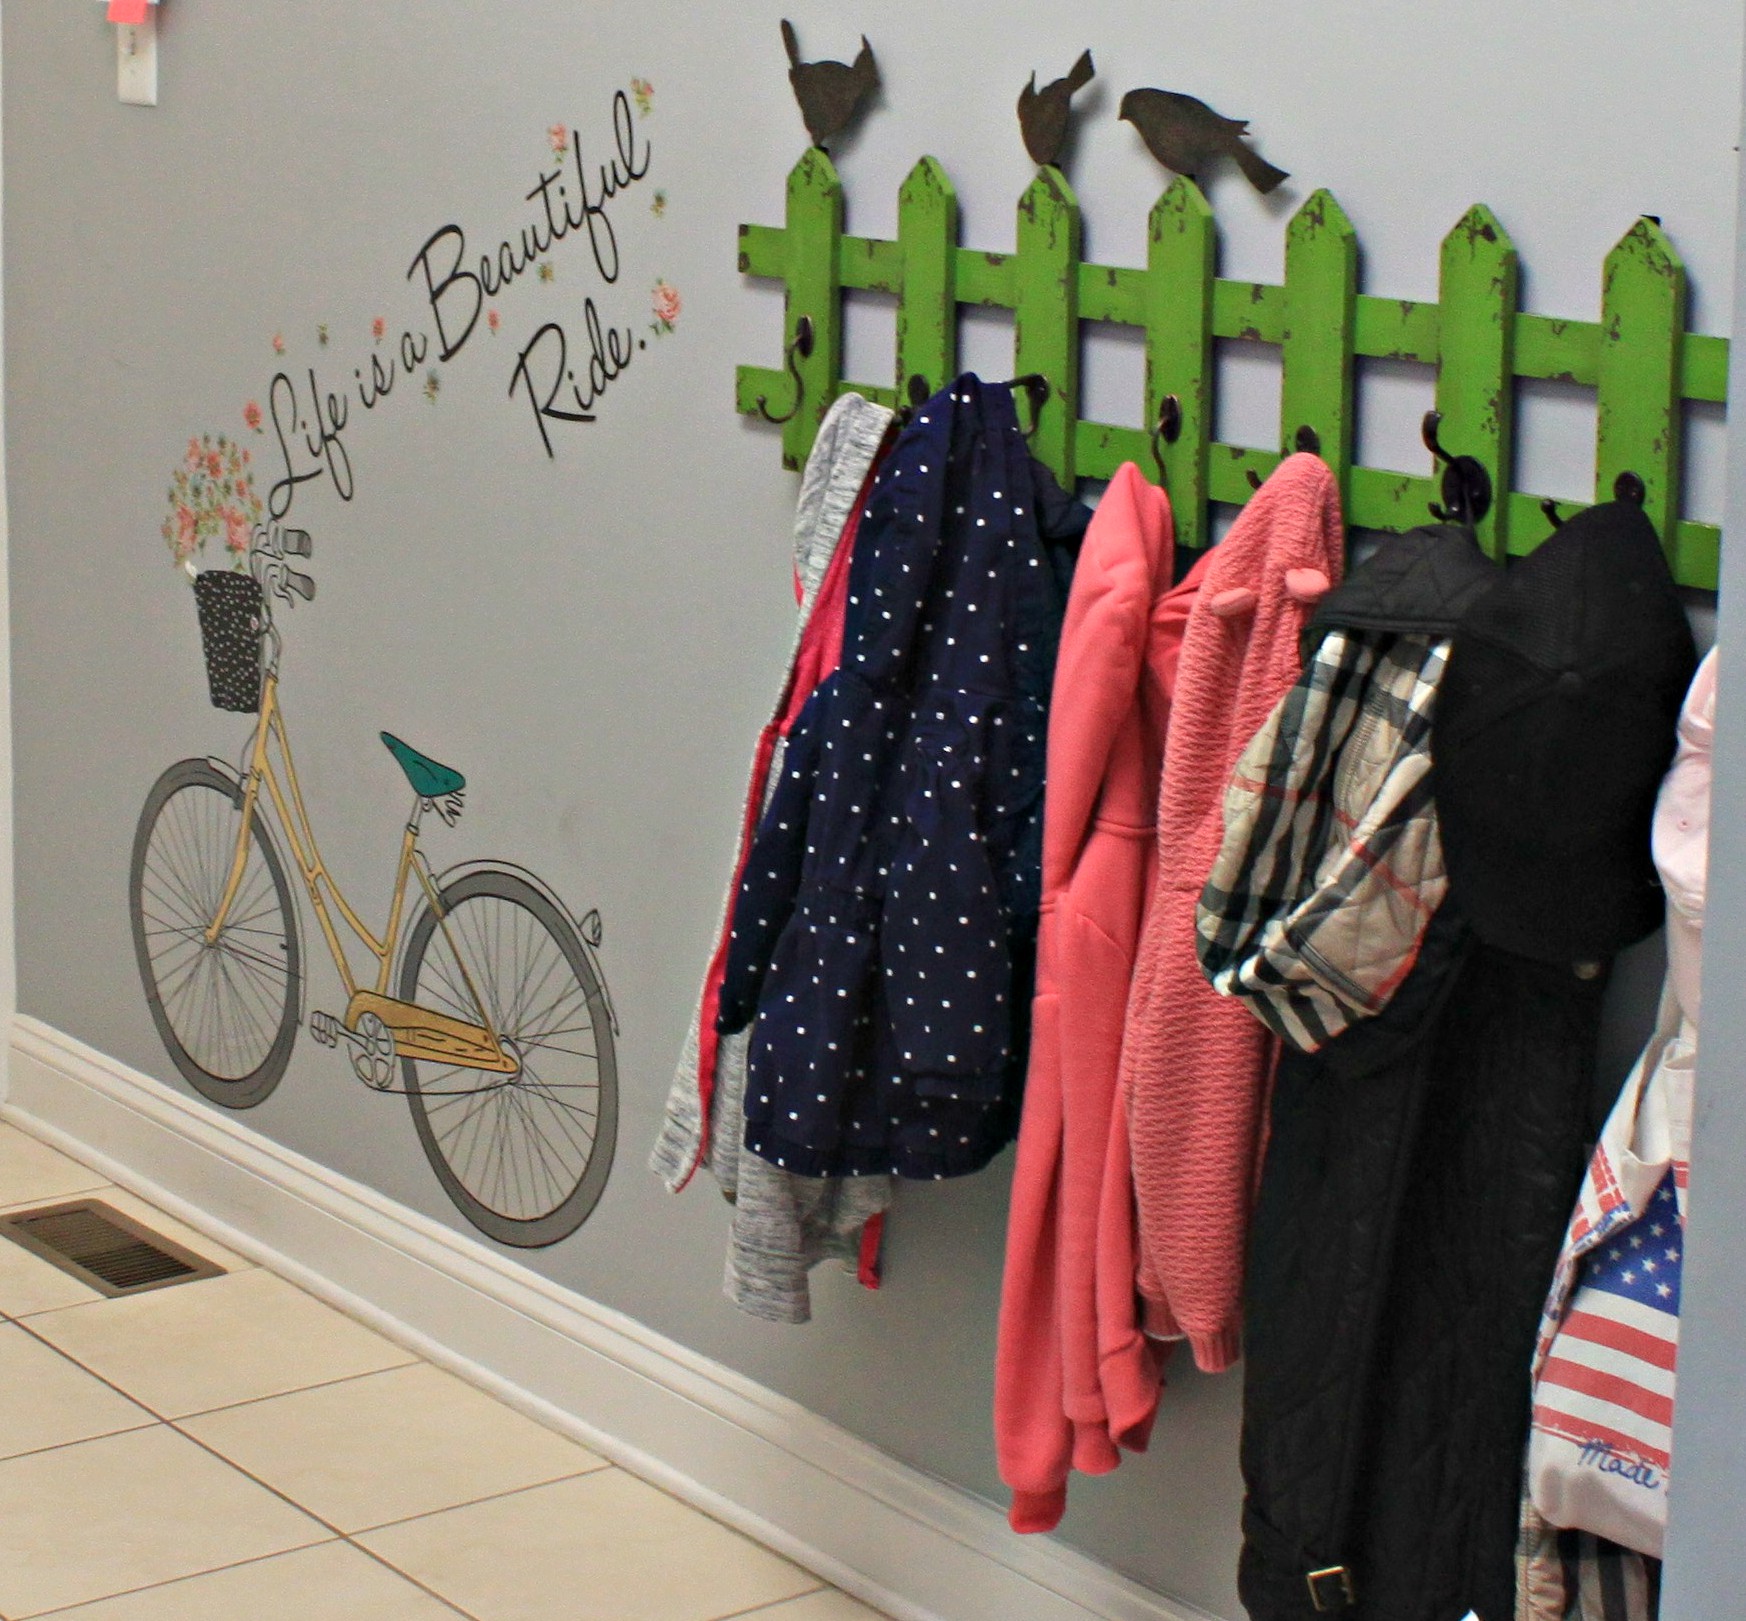
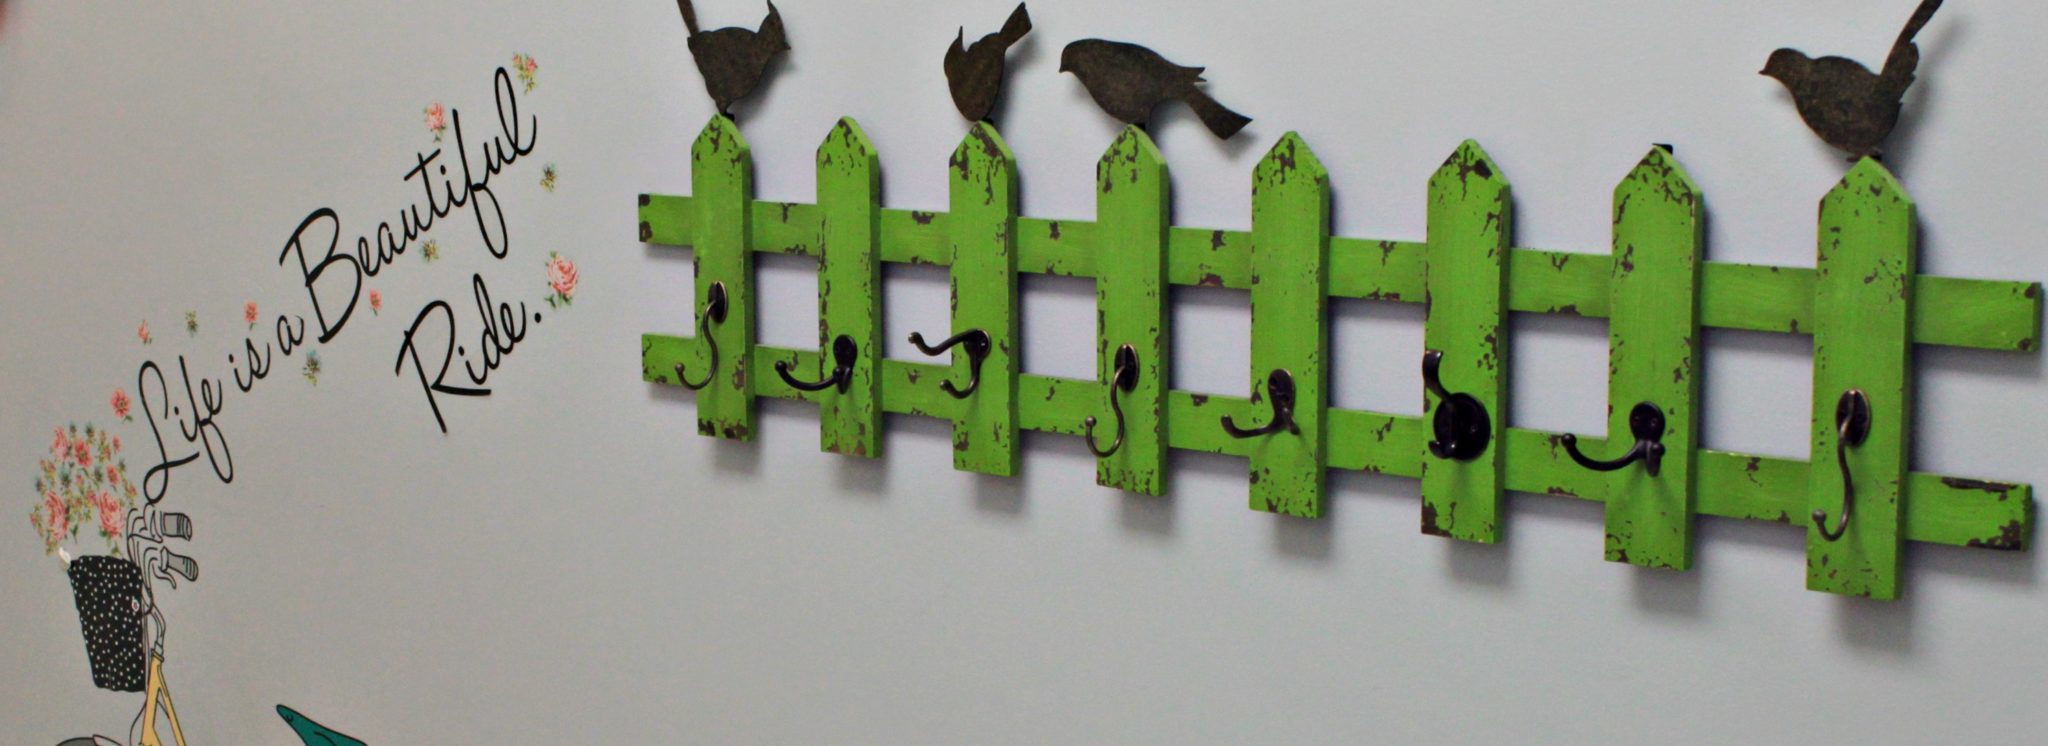
As you can see it’s been a small set of hooks since they moved in 5 years ago. There would be a hundred things hanging on it, and then she would go nuts and put it all away, until it accumulated again. All 6 of their things would end up on the rack; coats, scarves, hats, the leash, return bags, take to school bags – the list goes on.
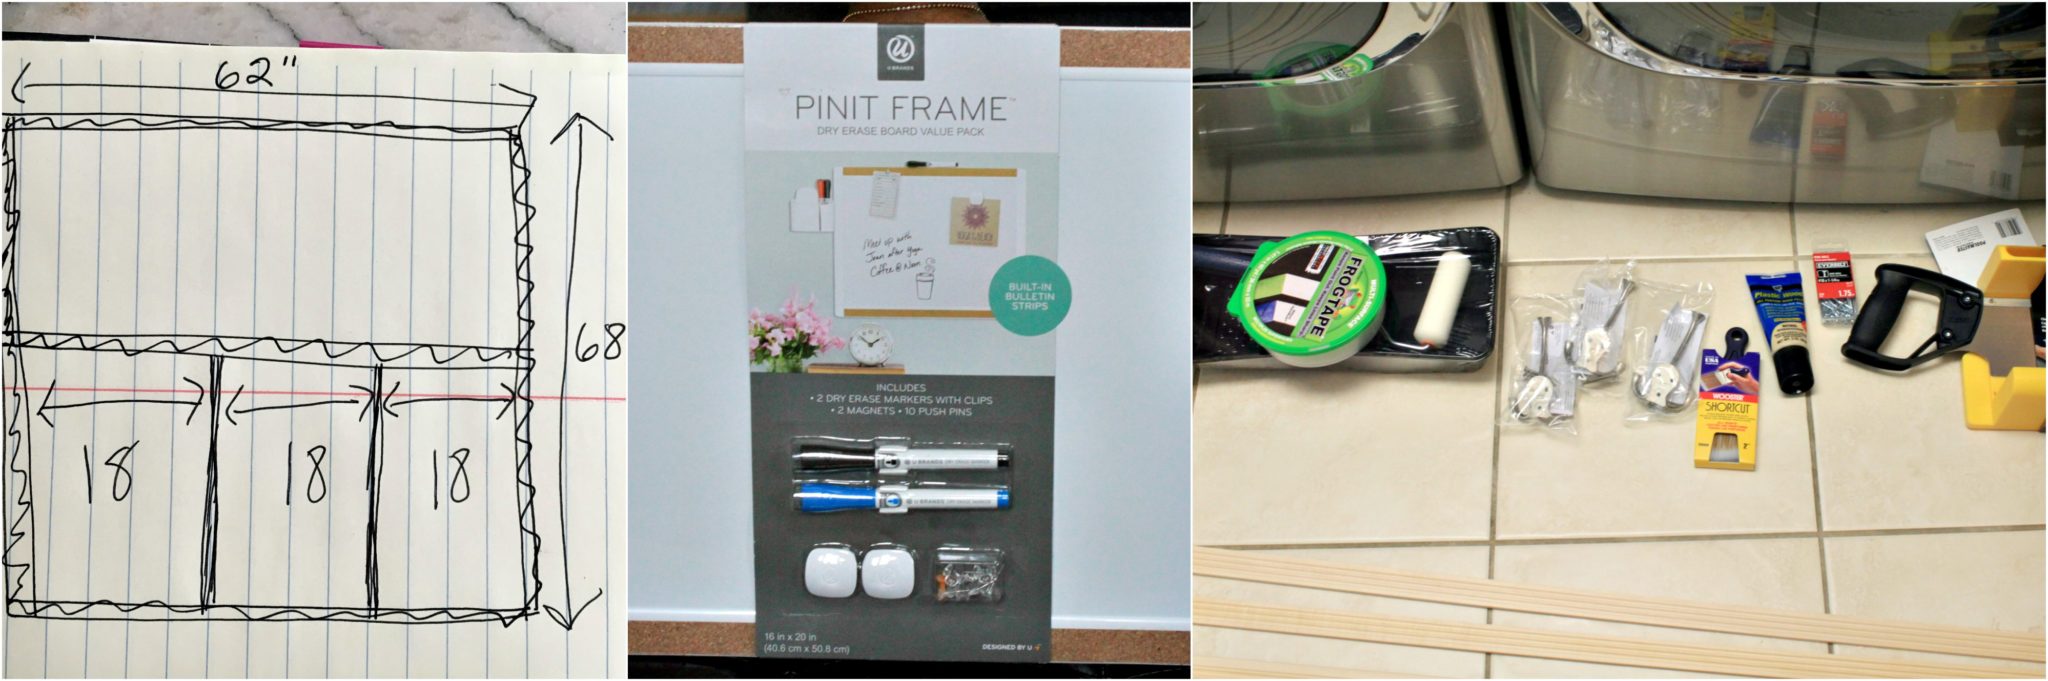
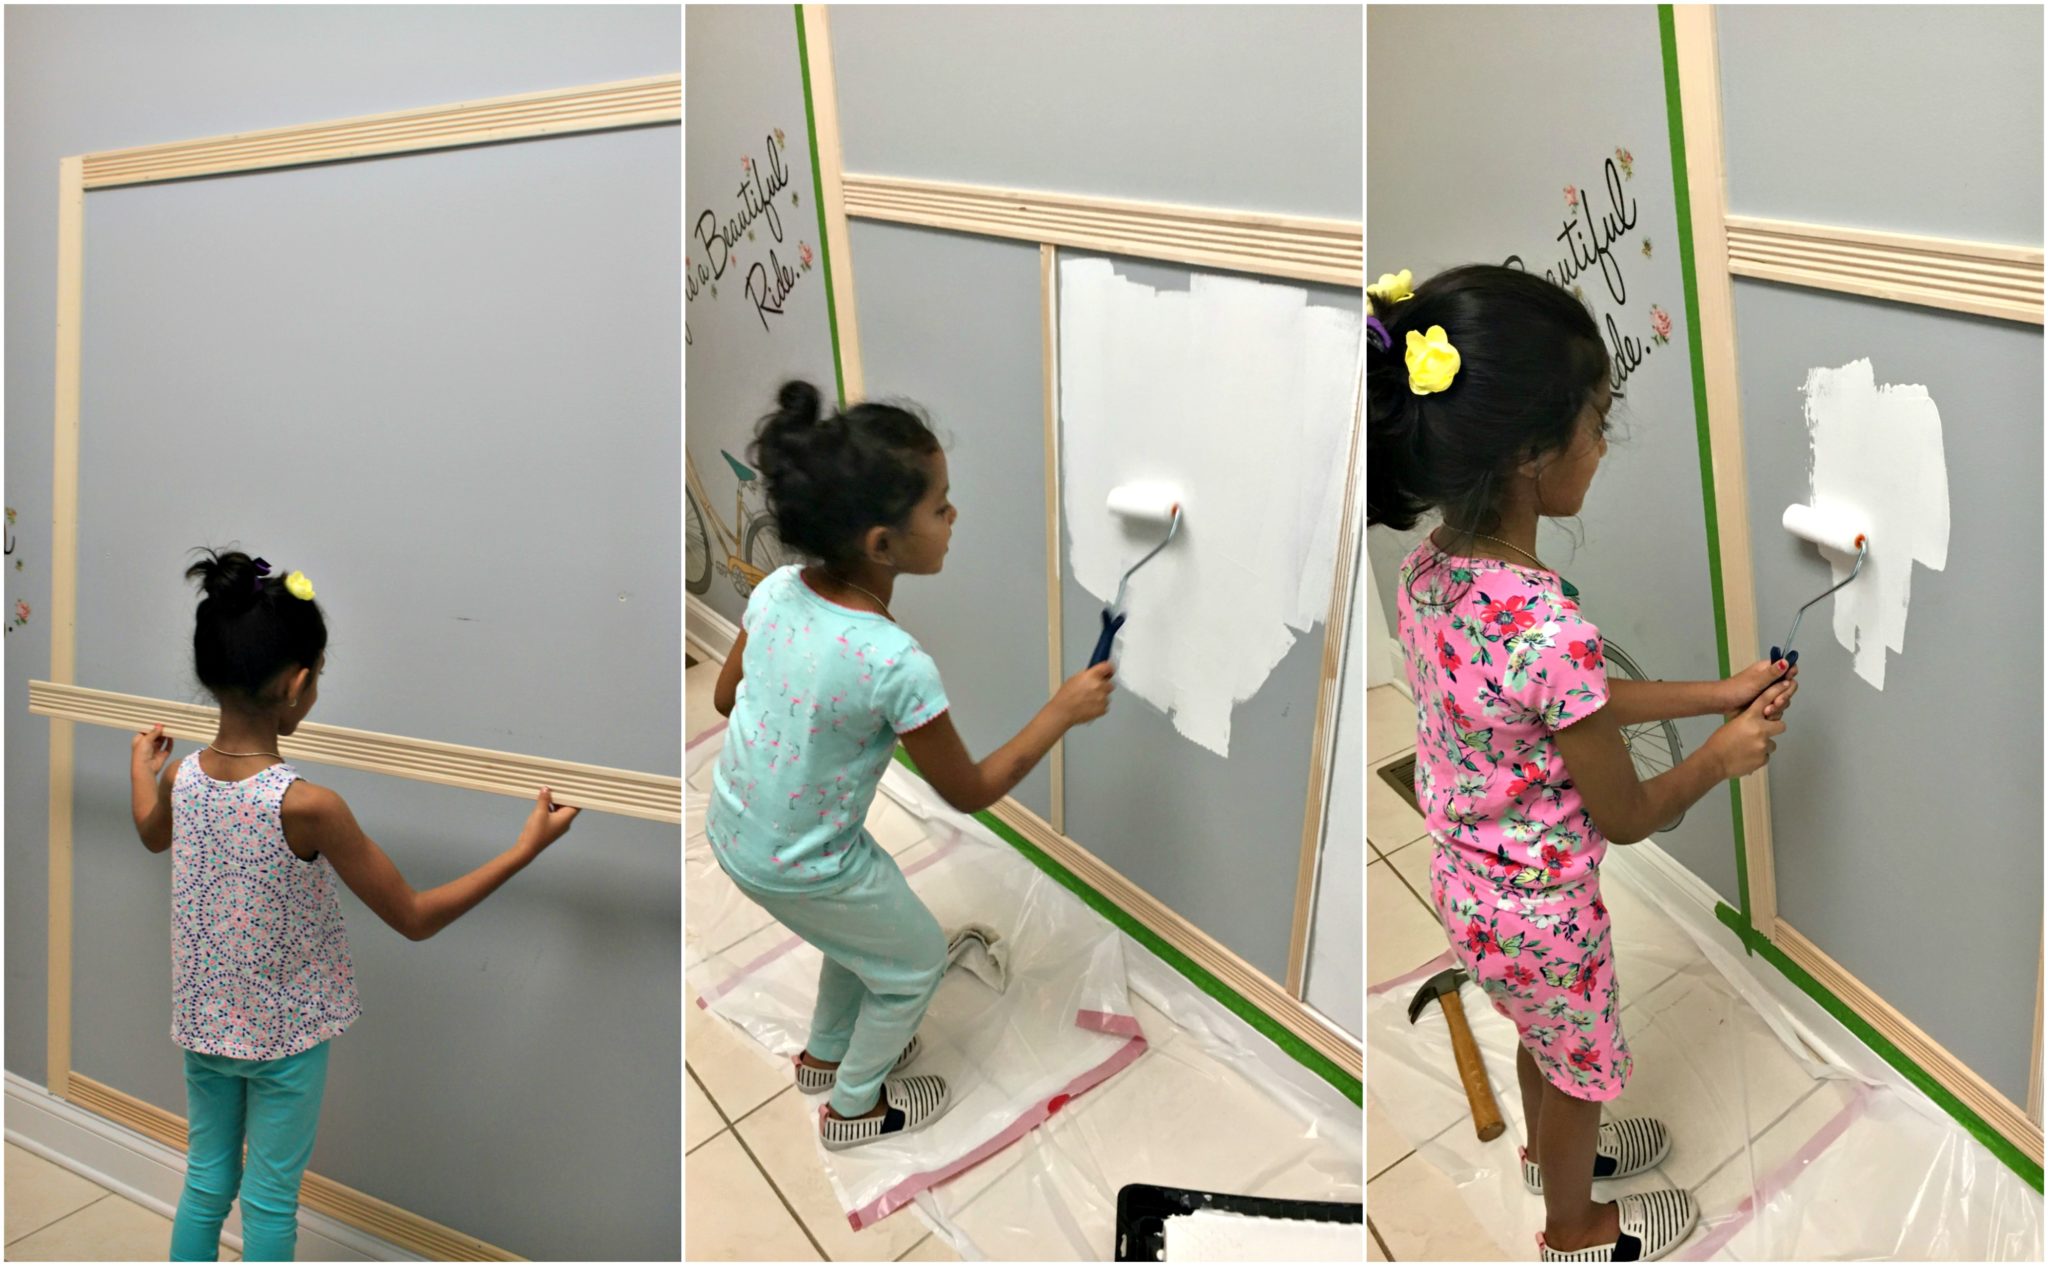
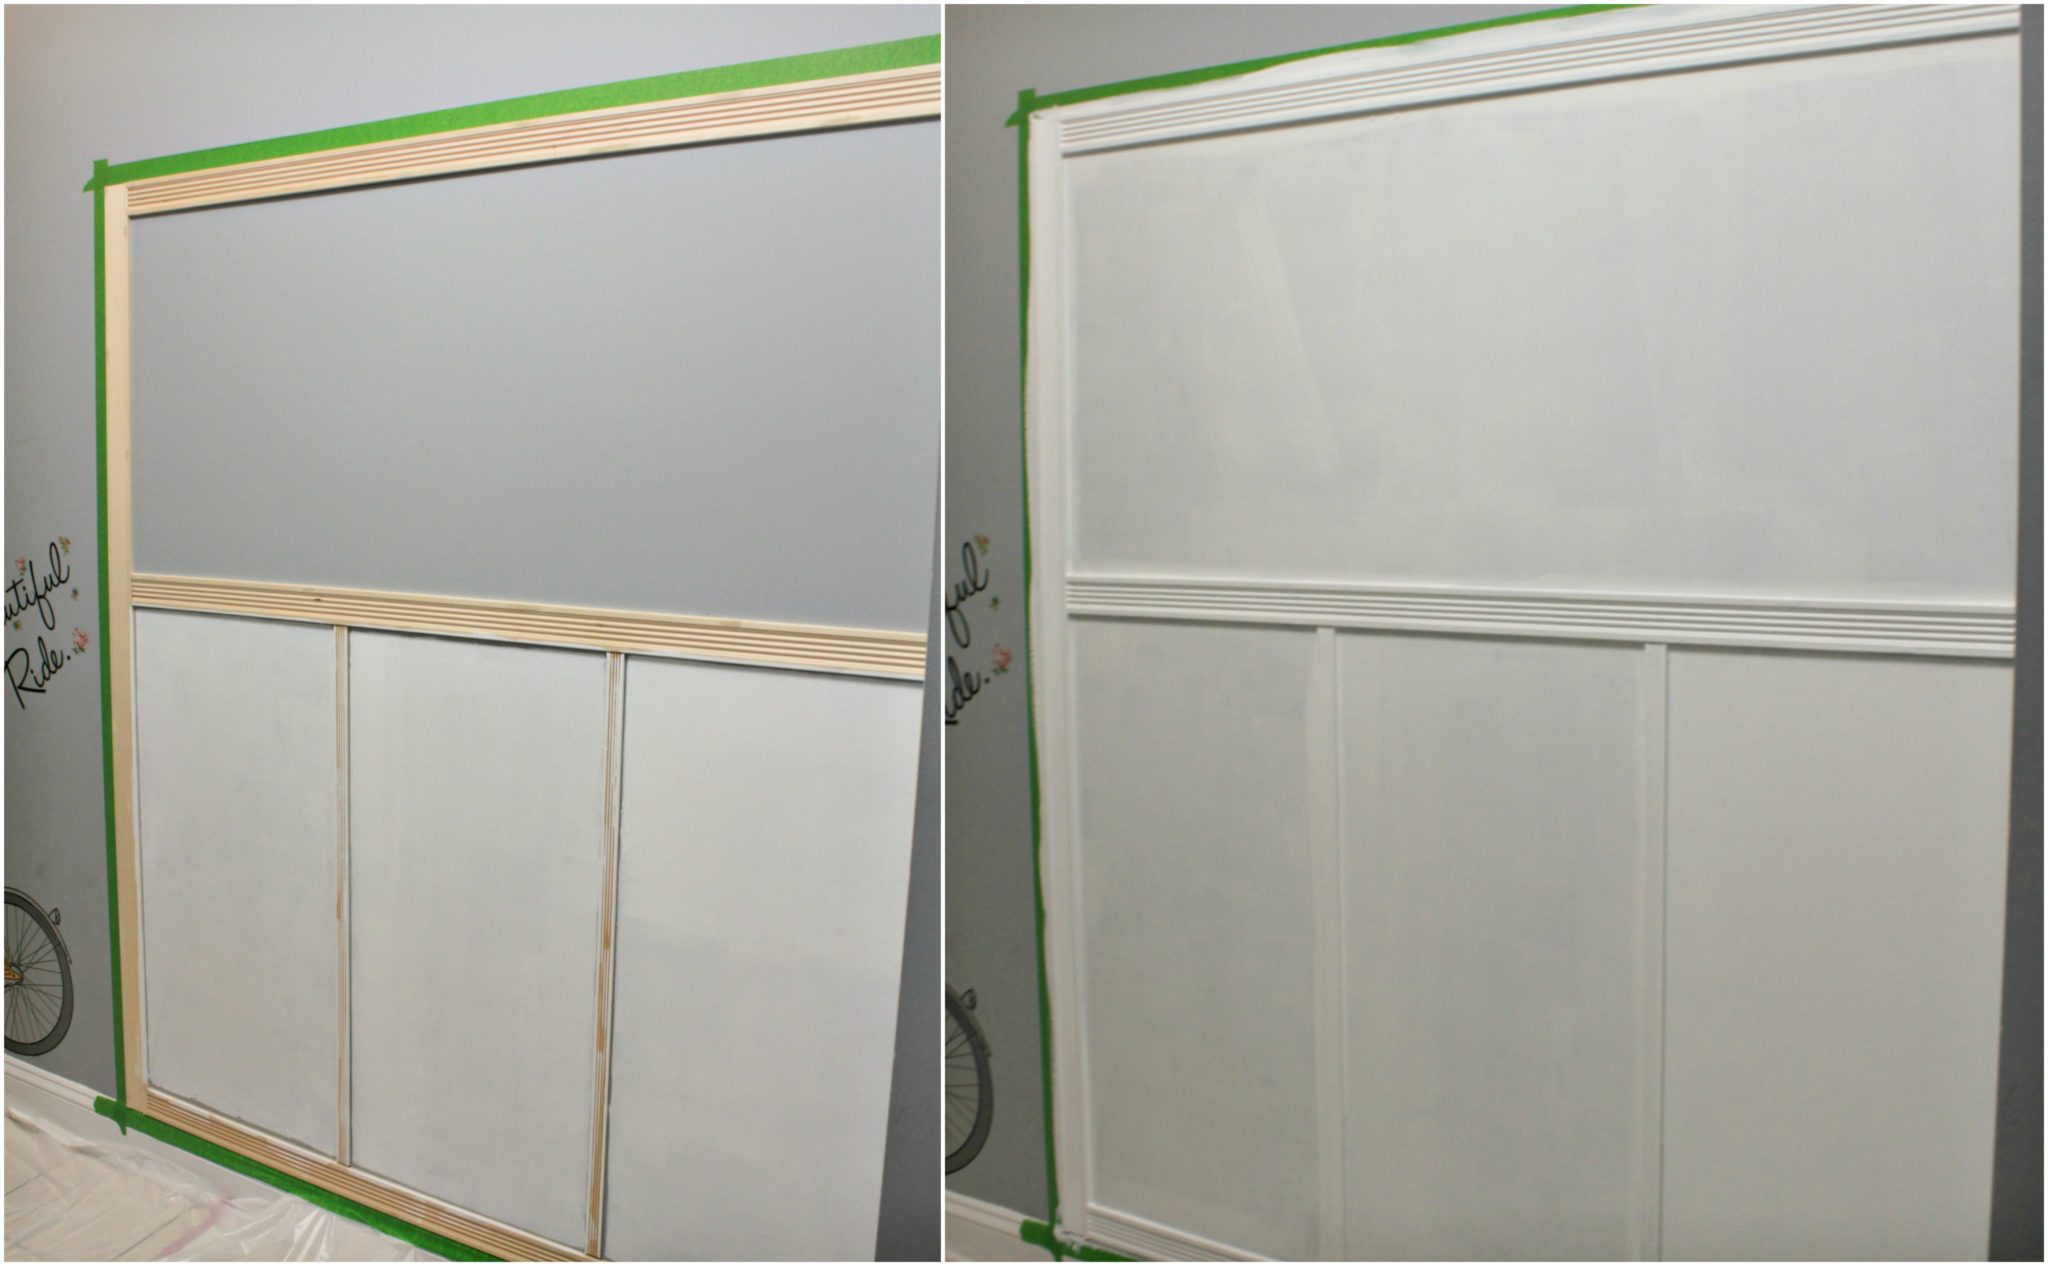
She took all that frustration and turned to Pinterest for some inspiration. She decided that cubbies were probably her best bet to get organized. And so she began. She started by measuring the space – how high was realistic and then how wide would fit up to the decal that she loves so much. Nina is a very handy person when it comes to tools, molding, etc., so she was excited to get her hands dirty. She wanted to also show the girls, that if they envision a fun project, they are more than capable of doing it themselves.
Once she decided on those measurements, she figured out how many individual pieces she would need. Because her mudroom is so narrow, it had to be flush to the wall and just give the illusion of cubbies, but not actually have any sort of shelves or stools. So she went to Home Depot to look for the thinnest, narrowest molding that she could find that would do the trick. She also picked up some nails, a hand saw, wood filler and some hooks (total cost was $100).
Let’s see what comes when the school year actually starts! That’s where the real test will begin…


That is interesting 🙂