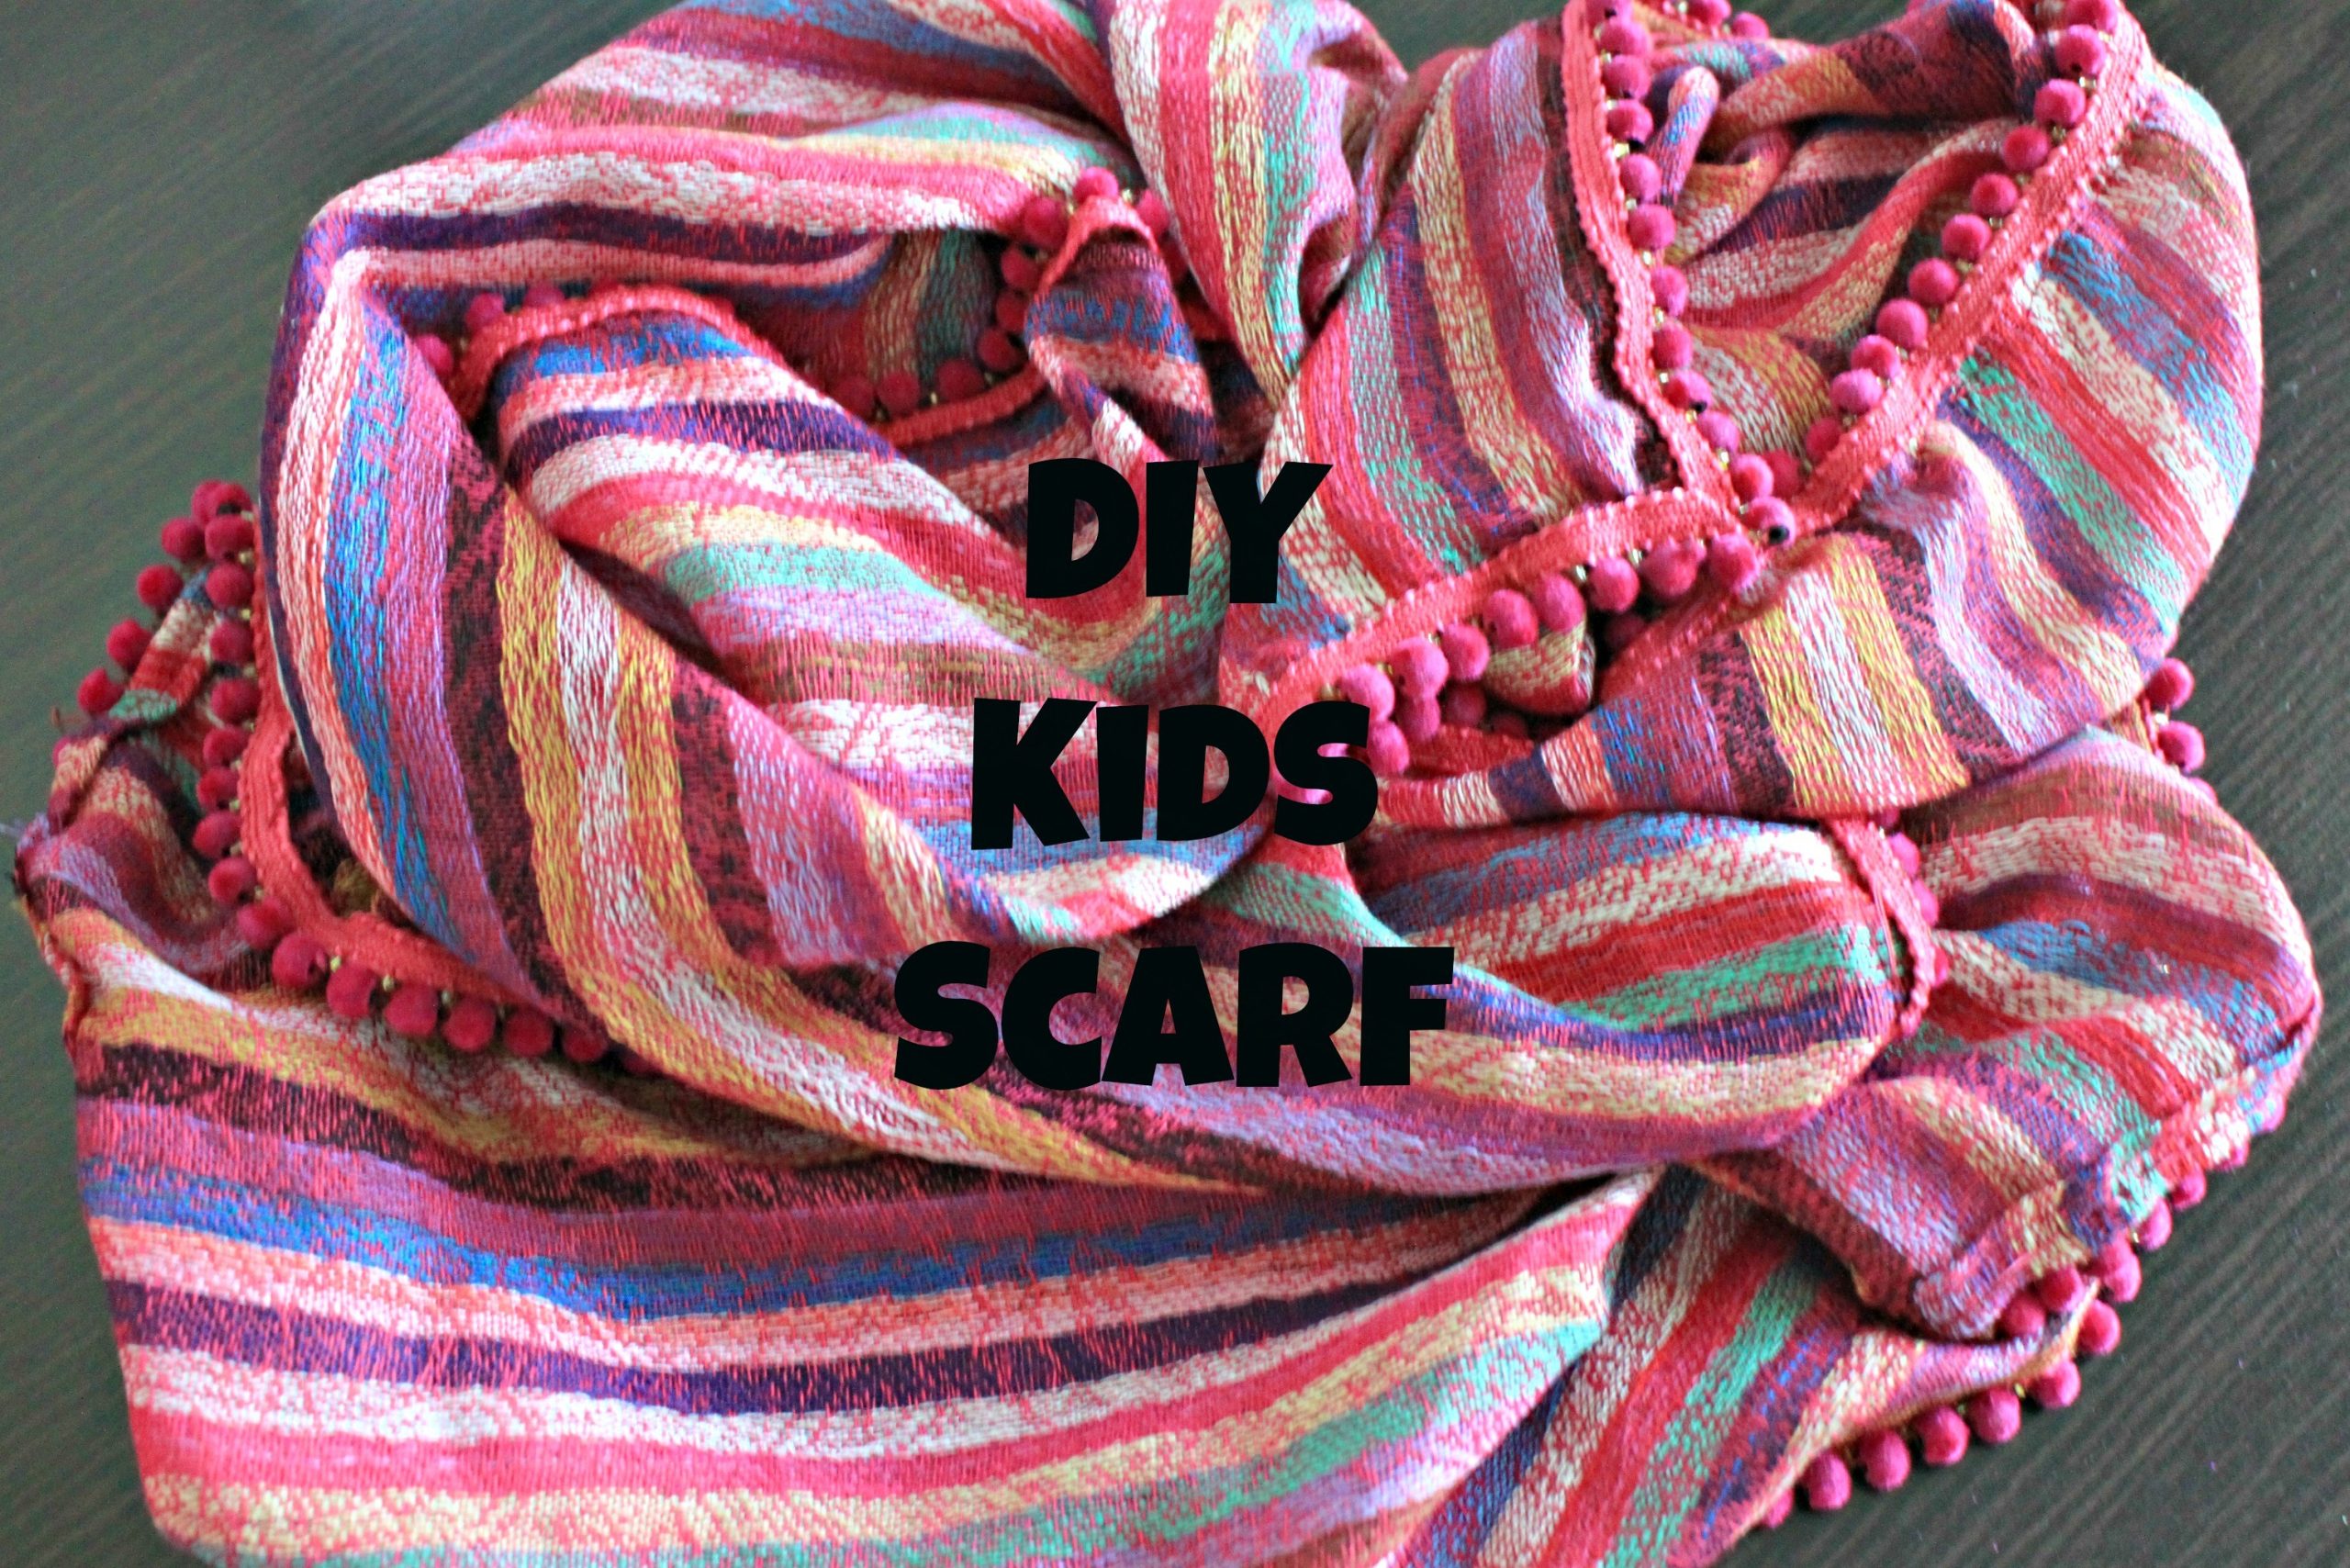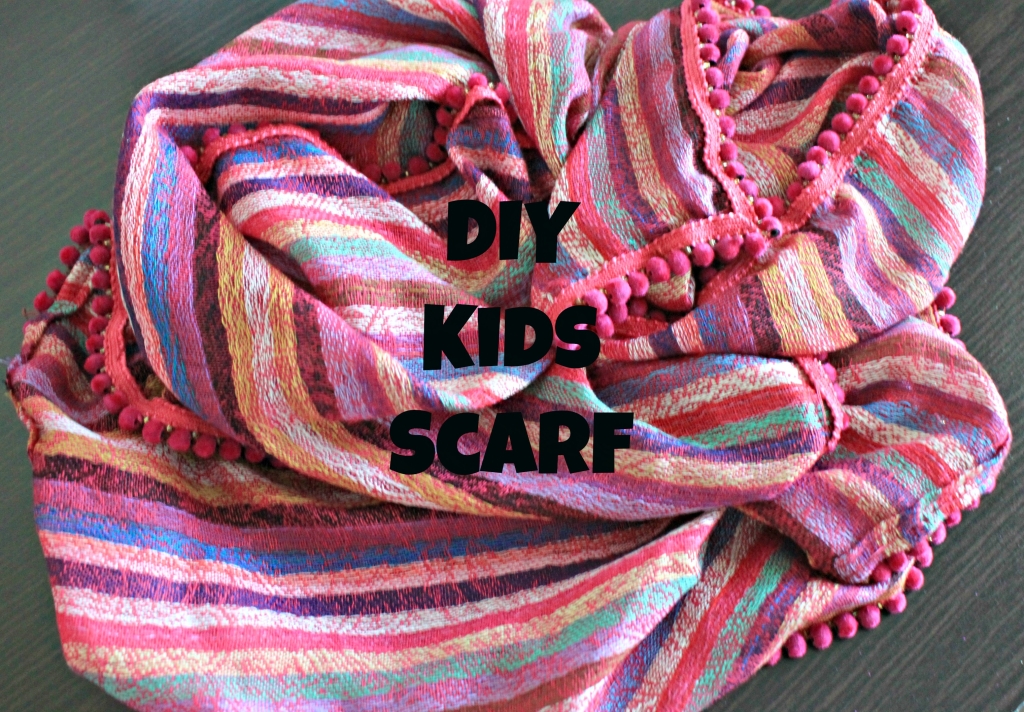
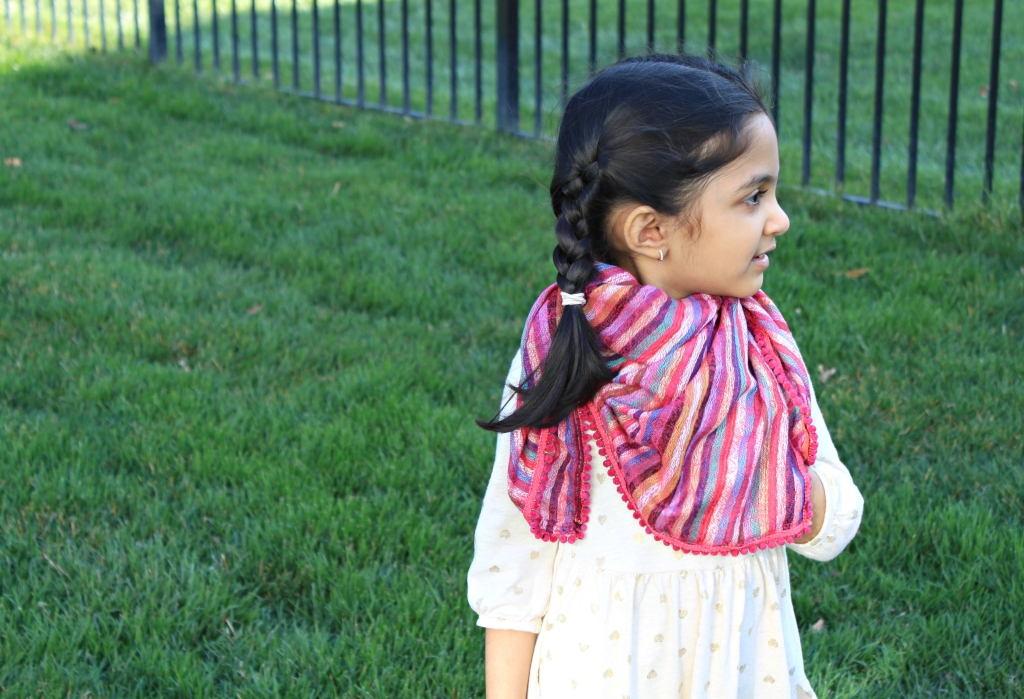
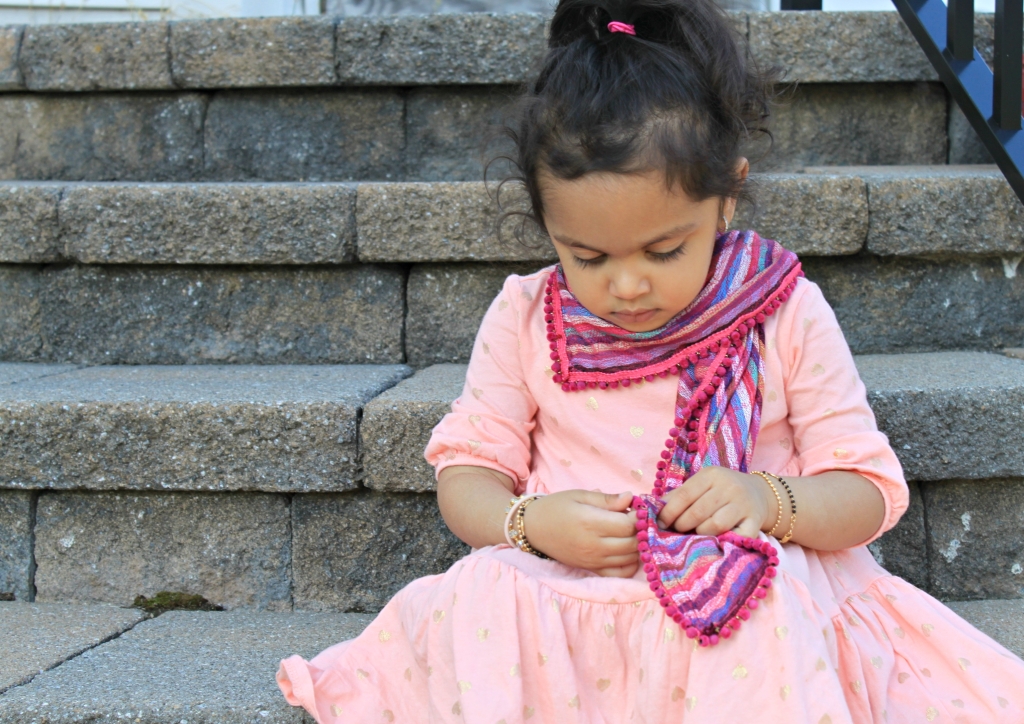
Are you obsessed with PomPom borders? Well Nina sure is and she is willing to put them on anything! Last time you saw her dress up a plain black umbrella with a colorful PomPom border, but this time she got her hands on a scarf for the girls; the perfect little accent for Spring! For this DIY, all you need to get is an inexpensive pashmina shawl, any color combination you like, or a plain one works too – Nina got hers at a local AC Moore store for $5. And second you need a PomPom border, like any of these ones here. To put it together check out Nina’s simple tutorial below!


Tutorial
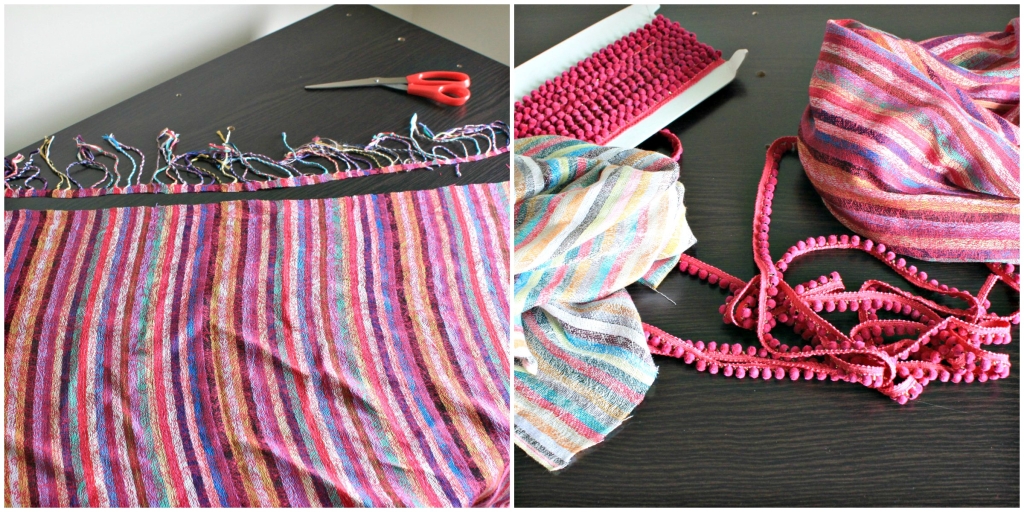
First cut the scarf to size (Nina folded hers in half and cut two squares). You want to cut off the stringy ends and then sew over the two frayed edges so the strings don’t pull.
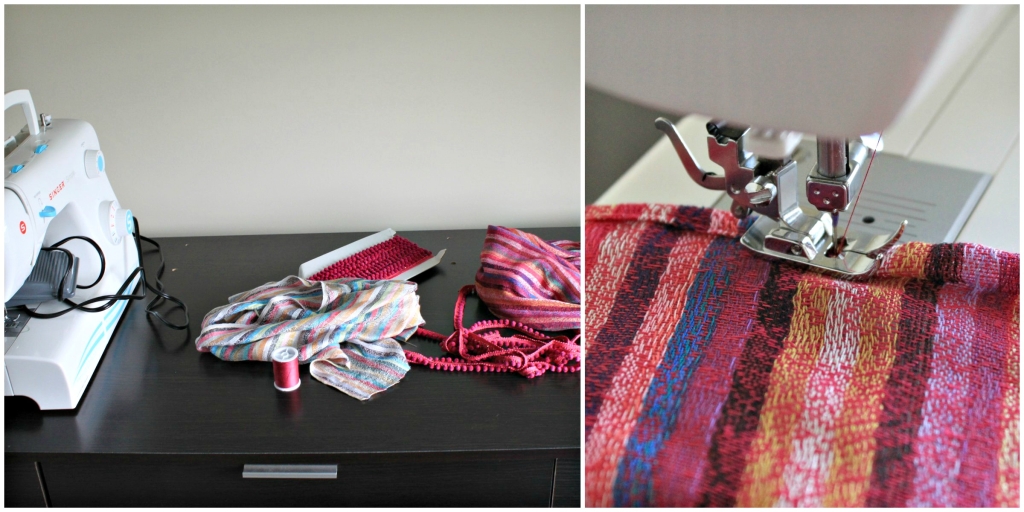
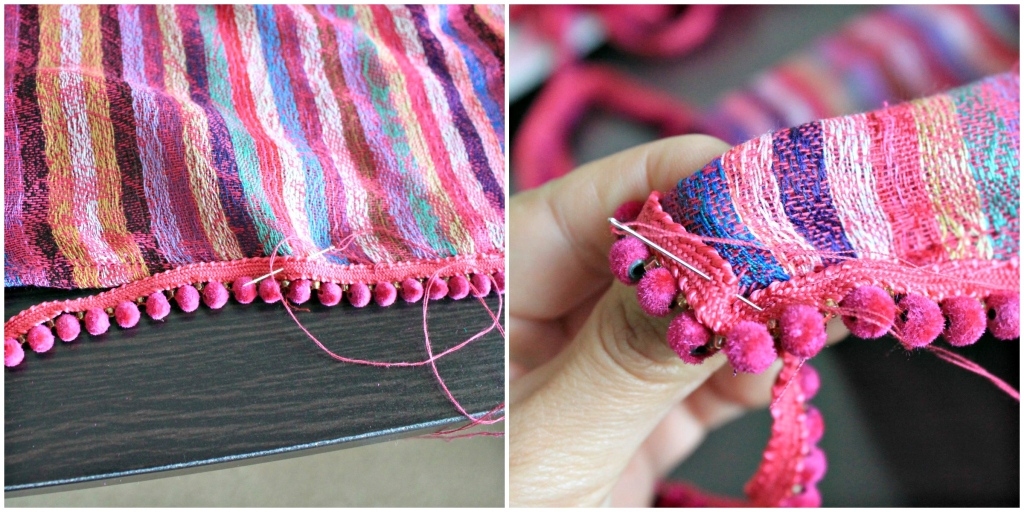
Then sew on the PomPom border all around, folding it over itself at the corners so that it is all one piece! TIP – figure out the shape of your scarf and take it with you so that you can ensure you have enough border to go the whole way around! Also, Nina ended up hand sewing the PomPom border because the width was too small, so take that into consideration too! And for those who don’t like sewing machines, try this little hand held one for this DIY!
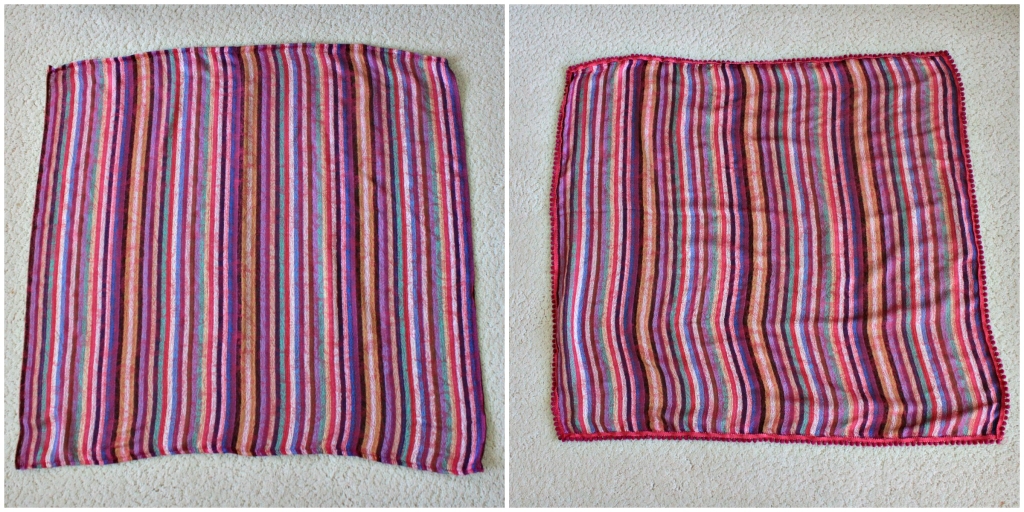

Please do share any PomPom DIY scarves with us at #runwaysandrattles – can’t wait to see your Spring/Summer looks!

